To paint kitchen cabinets so the finish actually lasts, the work is 80% preparation: remove the doors and hardware, clean off every trace of grease, sand to give the surface tooth, prime with a bonding primer, then apply two or three thin coats of a durable cabinet-grade enamel - ideally sprayed - with full cure time between coats. Skipping the cleaning, sanding, or priming is why most DIY cabinet paint jobs peel and chip within a year. Below is the pro-level process step by step, plus an honest look at when painting is worth it and when a factory finish is the smarter call.
Key takeaways: Great cabinet paint is all in the prep - degrease, sand, prime, then thin coats of quality enamel with full cure time. A sprayed factory finish is far more durable than any brush job. Compare refinishing vs replacing or get a quote.
Is painting your cabinets worth it?
Tap to expand
Is painting your cabinets worth it?
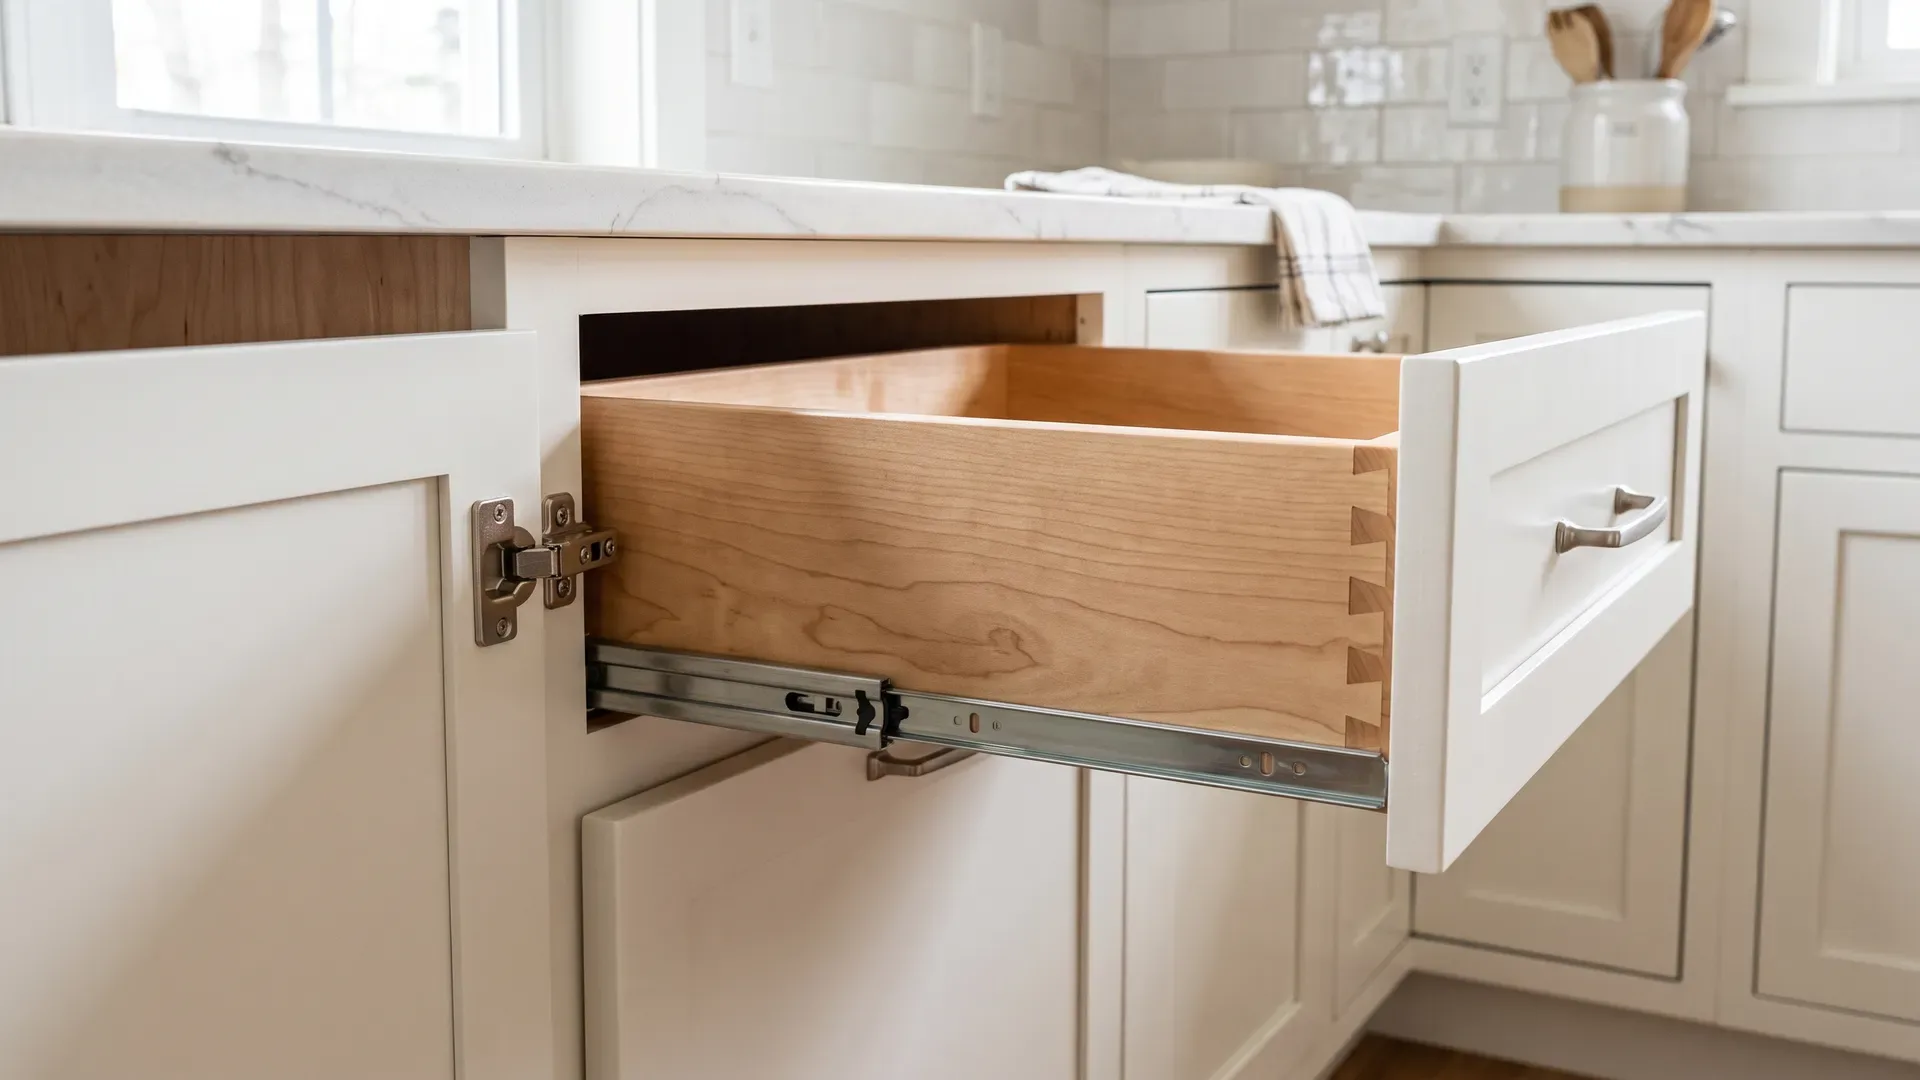
Painting is worth it when your cabinet boxes and doors are structurally sound and your layout works, and you simply want a new color for a fraction of the cost of replacement. A good paint job can take a dated oak or honey-maple kitchen and make it feel fresh and current for a few hundred dollars in materials. It is not worth it if your boxes are failing, your doors are damaged, or your layout does not function - paint fixes the color, not the kitchen. It is also worth being honest about durability: even the best hand-painted finish will not match the toughness of a sprayed factory finish, so painting is best thought of as a cost-effective refresh rather than a permanent, forever-durable solution.
What you'll need
Tap to expand
What you'll need
Before you start, gather everything so you are not stopping mid-project. You will want a screwdriver or drill for the hardware, a degreasing cleaner (TSP substitute or a strong household degreaser), sanding sponges or an orbital sander with 120–220 grit, tack cloths, painter's tape and plastic sheeting, a high-quality bonding primer, a cabinet-grade enamel paint, and either a fine-finish brush and foam roller or - for the best result - a sprayer. Buy better materials than you think you need: cheap primer and cheap paint are the single most common reason a cabinet job fails, and the cost difference across a whole kitchen is small compared to the labor you are about to invest.
Step 1: Remove doors, drawers, and hardware
Tap to expand
Step 1: Remove doors, drawers, and hardware
Resist the temptation to paint cabinets in place with the doors hanging. Take every door and drawer front off, remove all the knobs, pulls, and hinges, and label each door and its location (a piece of tape with a number on the inside of the door and the same number inside the cabinet works well) so reassembly is painless. Painting flat, horizontal doors on a work surface - rather than vertical, hanging doors - is the difference between a smooth finish and one full of drips and sags. Set up a dust-free space like a garage or spare room with good ventilation and something to elevate the doors so you can paint the edges.
Step 2: Degrease - the step everyone skips
Tap to expand
Step 2: Degrease - the step everyone skips
Kitchen cabinets, especially around the range and above the stove, carry a film of cooking grease that is invisible but everywhere. Paint will not bond to grease - it will sit on top and peel later - so this is the step that most determines whether your finish lasts. Wipe down every surface with a degreasing cleaner, paying special attention to the area near the stove and the edges people touch, then rinse and let everything dry completely. If you do only one thing right in this whole project, make it a thorough degrease. It is unglamorous and easy to rush, and it is exactly why the pros never skip it.
Step 3: Sand for tooth
Tap to expand
Step 3: Sand for tooth
Sanding is not about removing the old finish entirely - it is about scuffing the surface so primer has something to grip. Go over every door, drawer front, and box face with a medium grit (around 120–150) to knock down the sheen, then follow with a finer grit (180–220) to smooth it out. Wipe away all the dust with a tack cloth afterward, because any grit or dust left behind will show up as bumps in your finished paint. If your cabinets have a heavy grain, like oak, and you want a smooth painted look, this is also the stage to fill the grain with a grain filler and sand it flush, or accept that the grain will show through the paint.
Step 4: Prime with a bonding primer
Tap to expand
Step 4: Prime with a bonding primer
Primer is what actually glues your paint to the cabinet, and on slick or previously finished surfaces a quality bonding or shellac-based primer is essential. It seals the wood, blocks stains and tannins from bleeding through (critical on oak and knotty woods), and gives the topcoat a uniform surface to grip. Apply one or two thin coats, let each dry fully, and lightly sand between coats with a fine grit to keep everything glass-smooth. Do not shortcut the primer to save time - painting straight over old cabinets without it is the fast track to a finish that chips off in sheets the first time a fingernail catches an edge.
Step 5: Apply thin coats of cabinet enamel
Tap to expand
Step 5: Apply thin coats of cabinet enamel
Use a paint made for cabinets and trim - a durable acrylic or alkyd enamel that dries hard, not a standard wall paint that stays soft and scuffs. The golden rule is thin coats, not thick ones: two or three thin coats level out beautifully and cure hard, while one thick coat sags, stays soft, and never fully hardens. If you are brushing and rolling, use a fine-finish brush for the recessed panels and a foam roller for the flat areas, working quickly to keep a wet edge. If you can rent or borrow a sprayer, do - a sprayed finish is dramatically smoother and is how factory and professional finishes get their glass-like surface. Let each coat dry fully and scuff-sand lightly between coats.
Step 6: Let it cure before reassembly
Tap to expand
Step 6: Let it cure before reassembly
There is a difference between dry and cured. Paint may feel dry to the touch in an hour, but cabinet enamel can take days to weeks to fully harden. Rushing to rehang doors and load the cabinets while the paint is still soft is how fresh jobs get dented, stuck, and marked. Give the doors as long as you reasonably can before reinstalling - at minimum follow the paint's recure guidance - and be gentle with the cabinets for the first couple of weeks, avoiding harsh cleaners and heavy contact. Patience here protects all the work you just did.
DIY vs hiring a pro vs a factory finish
Tap to expand
DIY vs hiring a pro vs a factory finish
A careful DIYer can get a good result on a modest kitchen, and it is the cheapest option by far. Hiring a professional painter costs more but buys you their prep discipline, spray equipment, and a smoother finish - worth it if you lack the time, space, or patience for meticulous prep. But there is a third option people forget: a factory finish. When cabinets are refinished or refaced professionally, or built new, the doors are sprayed and often oven- or UV-cured in a controlled shop, producing a finish far more durable and uniform than anything achievable by hand in a garage. If your cabinets are worth keeping but you want a finish that truly lasts, professional refinishing or refacing may give you a better result than repainting them yourself. See our reface vs refinish vs replace guide.
Common cabinet-painting mistakes
Tap to expand
Common cabinet-painting mistakes
Nearly every failed cabinet job traces back to the same short list of shortcuts: not degreasing, so the paint never bonds; not sanding, so it has no tooth to grip; skipping primer, so the topcoat peels; using wall paint instead of cabinet enamel, so it stays soft and scuffs; applying coats too thick, so they sag and never cure; and rushing reassembly before the paint hardens, so it dents and sticks. Painting in a dusty space is another silent killer - every speck shows in a glossy finish. Avoid these and you avoid 95% of the disappointment people report with painted cabinets. The work is not difficult; it is just unforgiving of skipped steps.
Choosing a cabinet paint color
Tap to expand
Choosing a cabinet paint color
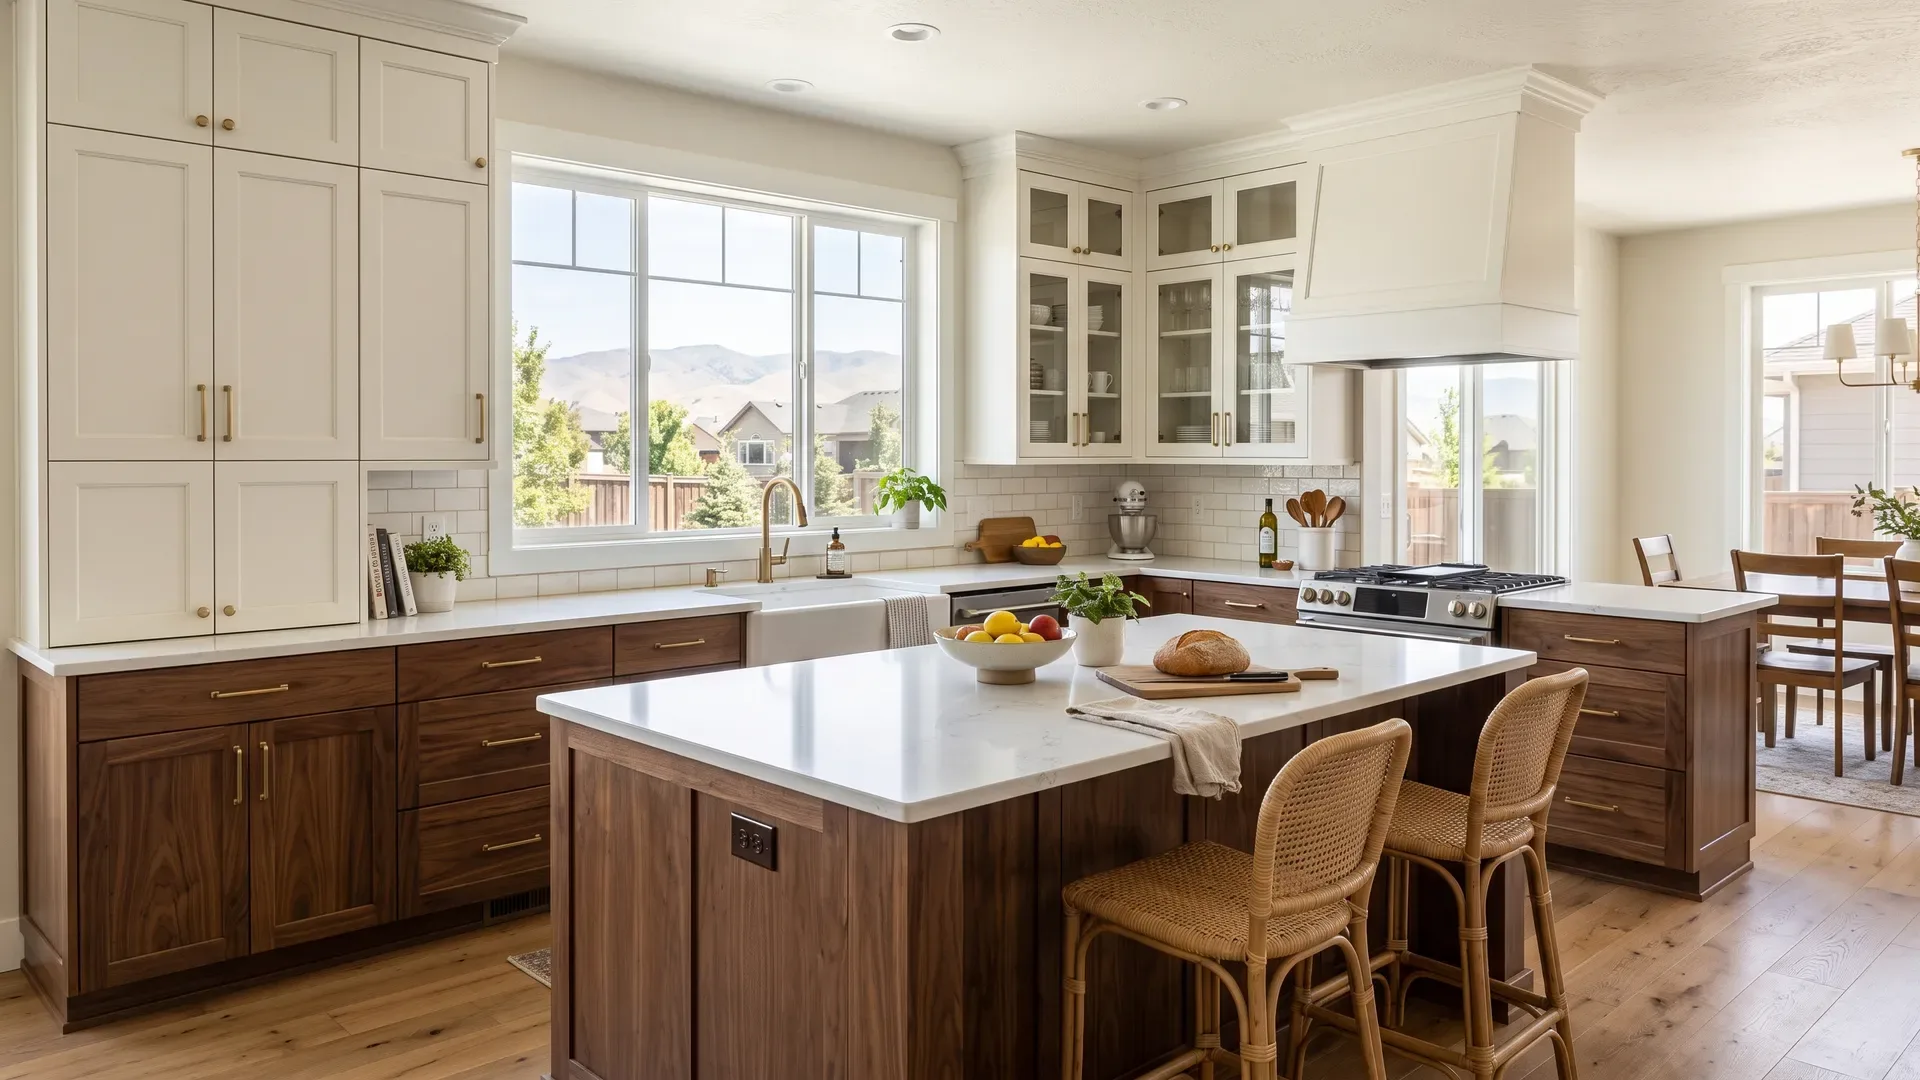
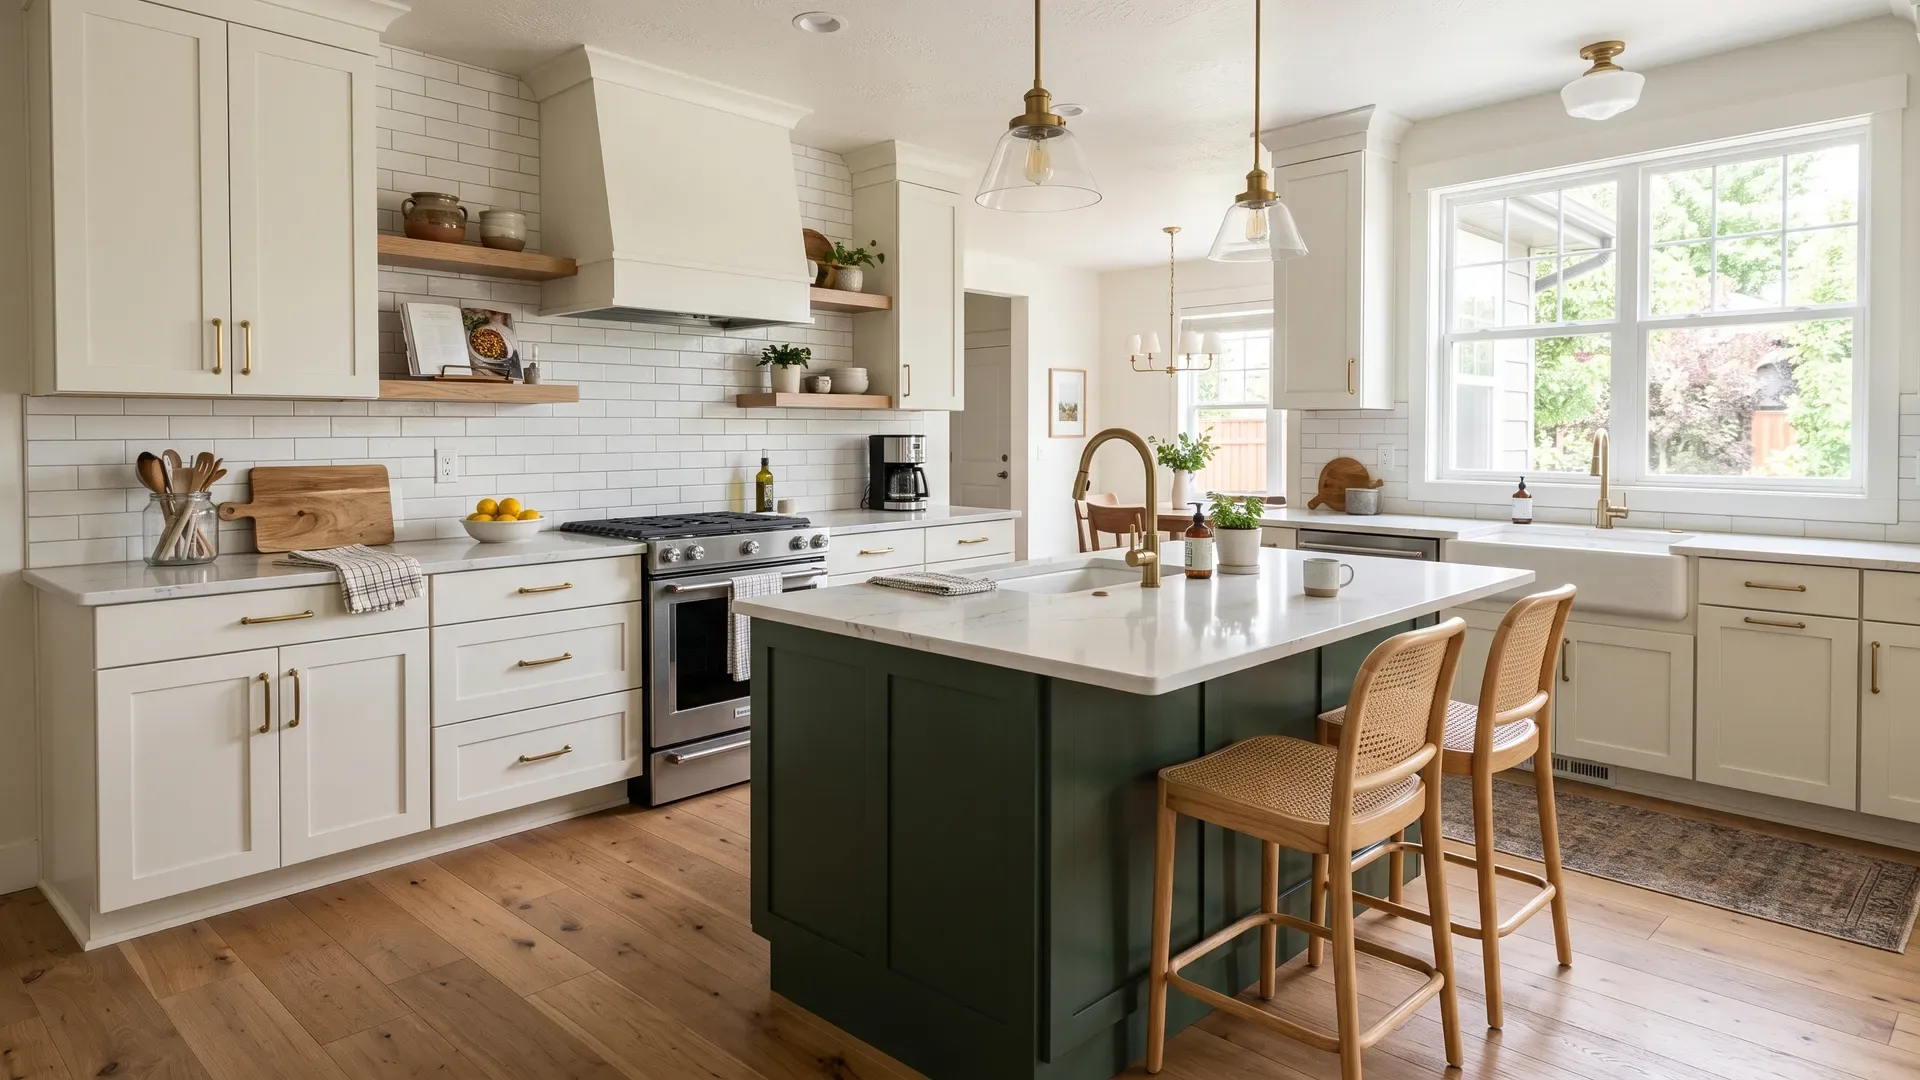
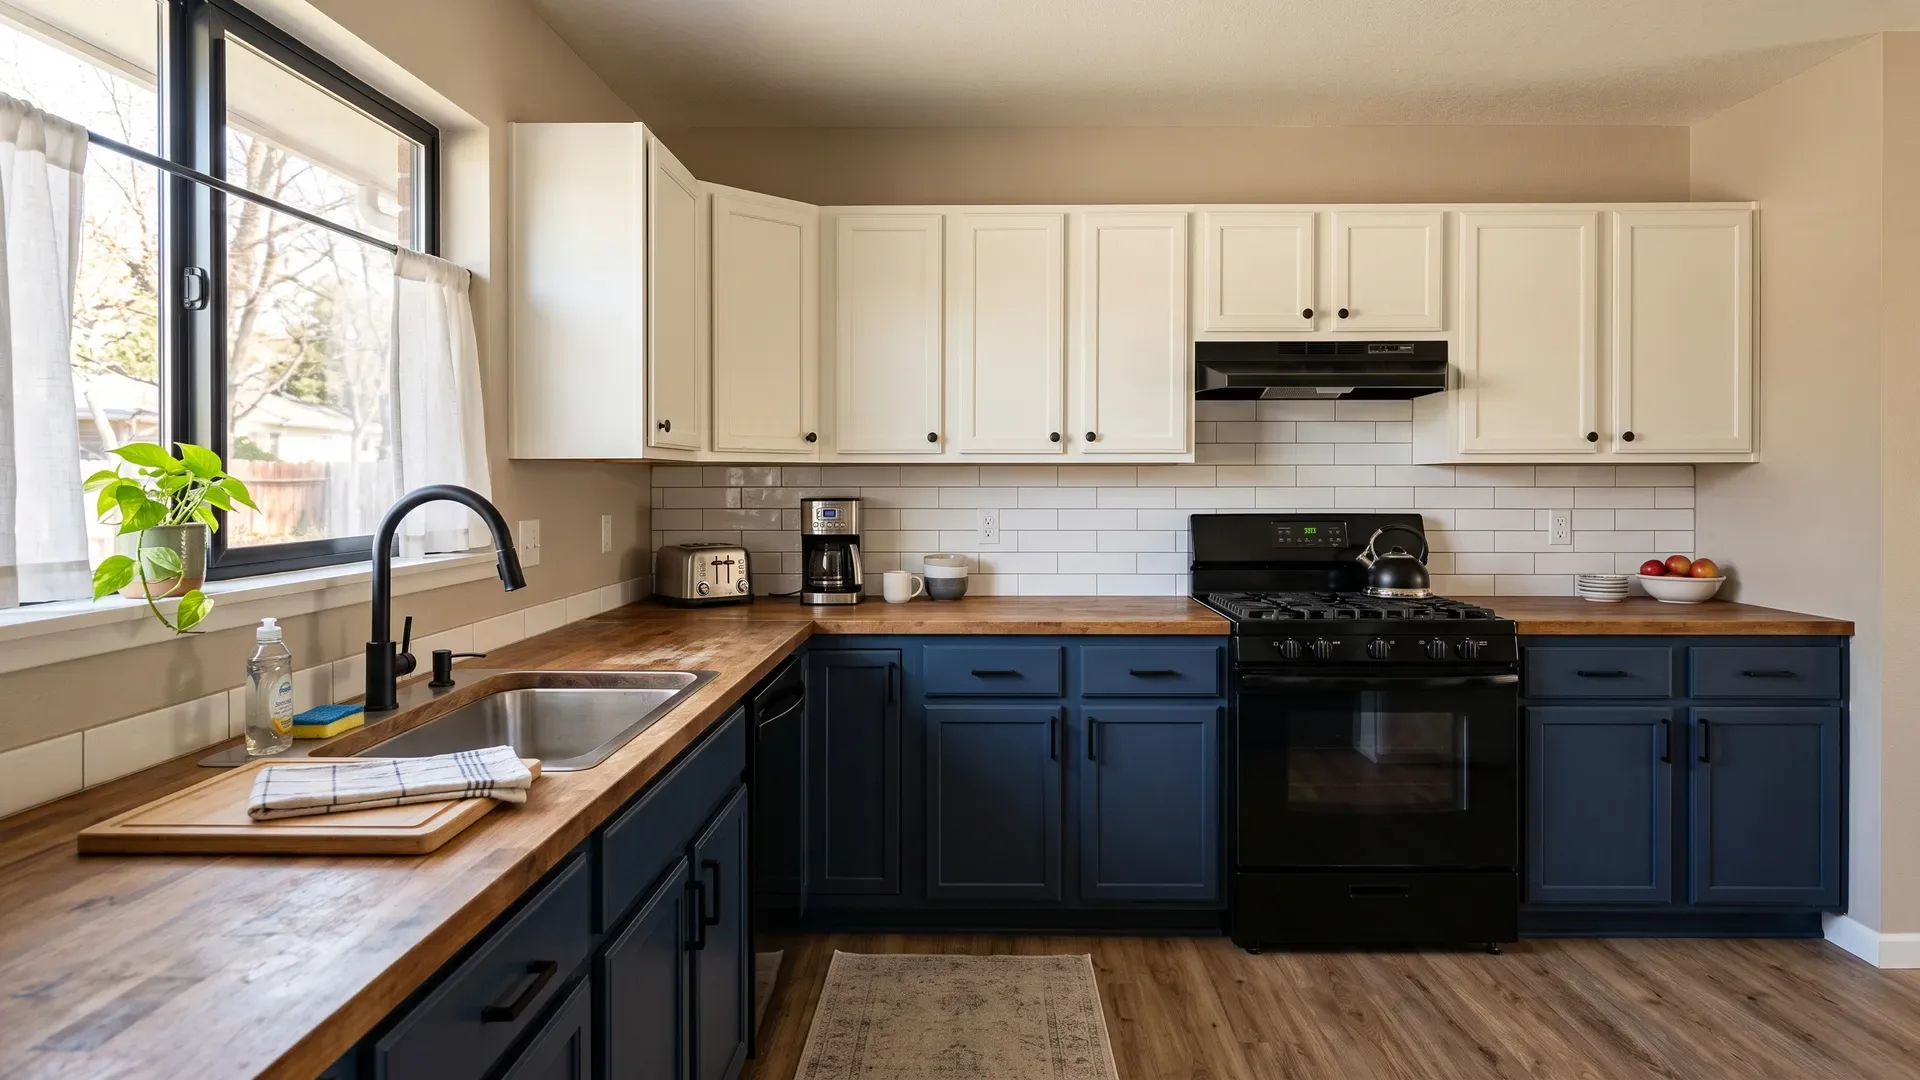
Since you are investing the labor, choose a color you will be happy with for years. Crisp whites and warm off-whites remain the most popular for their brightness and timelessness. Soft greiges and greens - including a muted sage - add character while staying neutral, and deep navy or charcoal make a striking island or lower-cabinet color in a two-tone layout. Whatever you choose, test it on a sample door in your actual kitchen light before committing, because cabinet color can look very different under your lighting than on a chip. For more on picking a shade, see our cabinet colors and finishes guide.
The bottom line
Tap to expand
The bottom line
Painting kitchen cabinets is one of the highest-impact, lowest-cost updates you can make to a kitchen - but only if you respect the process. The color you brush on is the easy part; the degreasing, sanding, and priming underneath it are what decide whether the finish still looks good in three years or peels in three months. Do the prep properly, use quality primer and cabinet enamel in thin coats, and give it time to cure, and a painted kitchen can look genuinely transformed. And if you want a finish that rivals new cabinetry in durability, remember that a sprayed, professionally applied factory finish will always outlast a hand-painted one - sometimes making refinishing, refacing, or new cabinets the better long-term value.
Prefer a finish that lasts? Talk to Boise Cabinet Co
Tap to expand
Prefer a finish that lasts? Talk to Boise Cabinet Co
Boise Cabinet Co builds and finishes custom kitchen cabinets with sprayed, durable factory finishes that outlast any hand-painted job, and we serve homeowners across Boise, Meridian, Eagle, and Nampa. If your boxes are sound and you love your layout, ask us about professional refinishing or refacing; if it is time for new cabinets, explore our finishes and colors. Get a planning range or book a free in-home consultation, and we will help you decide whether a fresh finish or new cabinetry gives you the look and durability you are after.